Translate

18 April, 2015

Vintage memories

I love the vintage cards and layouts other people do, but this doesn't make it happen!  Many of my first tries were terrible but I hope things have improved along the way.


This is one of my early efforts.  I used a download from a printable shop for the image.  There are many different kinds available both free and for purchase.  If you like vintage style, a basic set often comes with say 6 or 8 to a sheet.
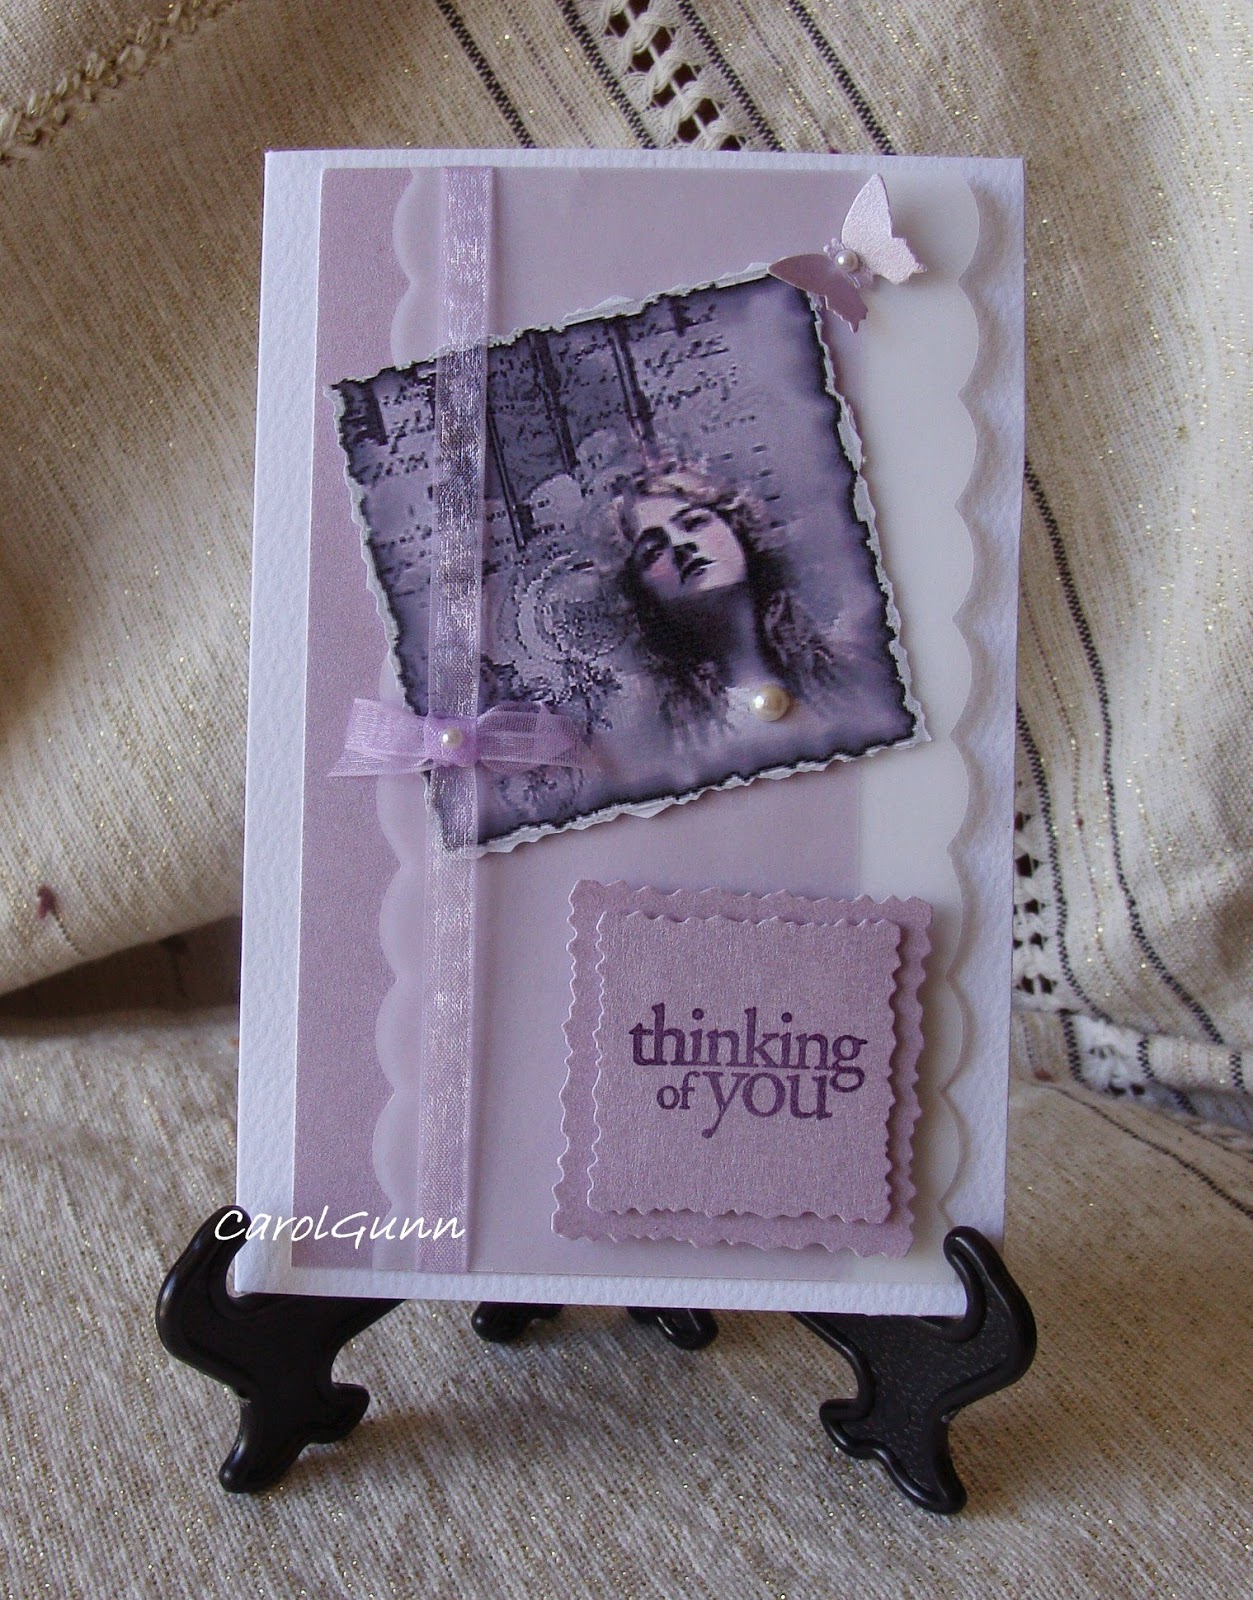
I like the colours in this one.  Initially I thought vintage had to be brown, but it doesn't have to be at all.  The purple card has a pearly sheen and there is vellum tucked in as well.

One thing I think needs to be mentioned is the stamps or font for sentiments needs to be of a suitable style that would have been around at the time.
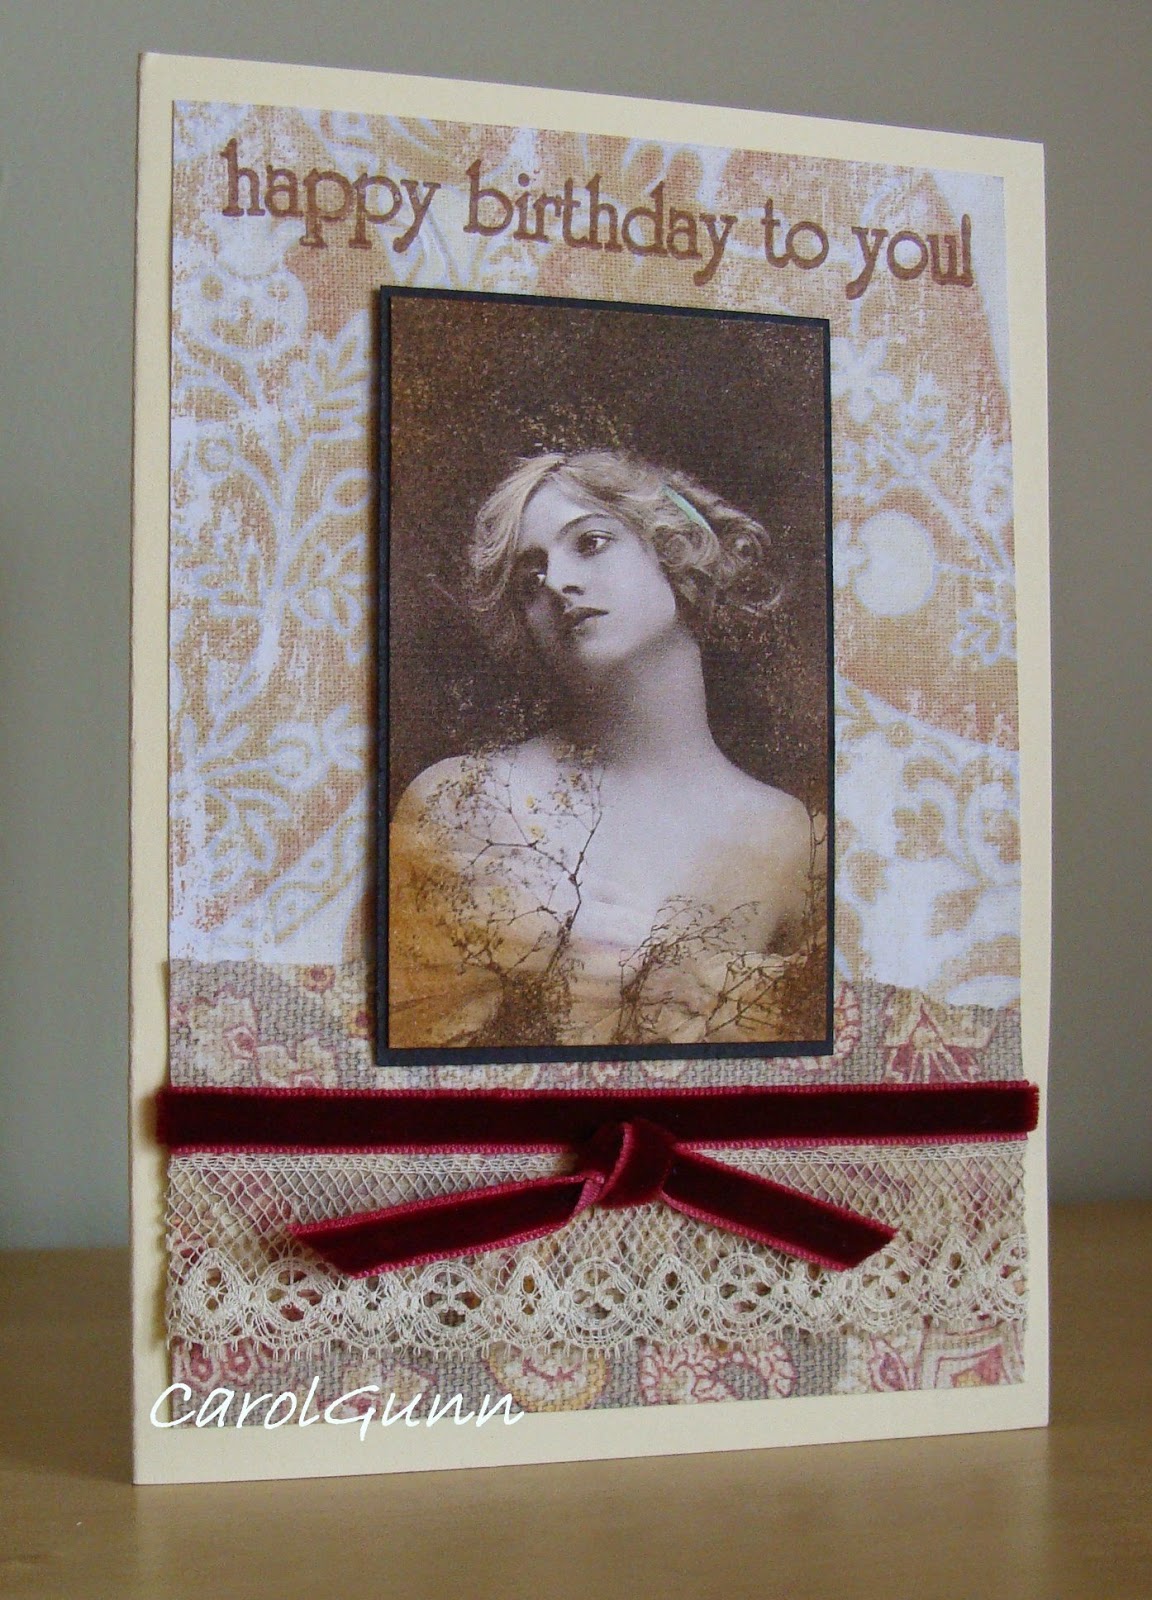


The trim and embellishments need to be appropriate too.  This one has a velvet ribbon and some vintage lace I picked up in a market. 
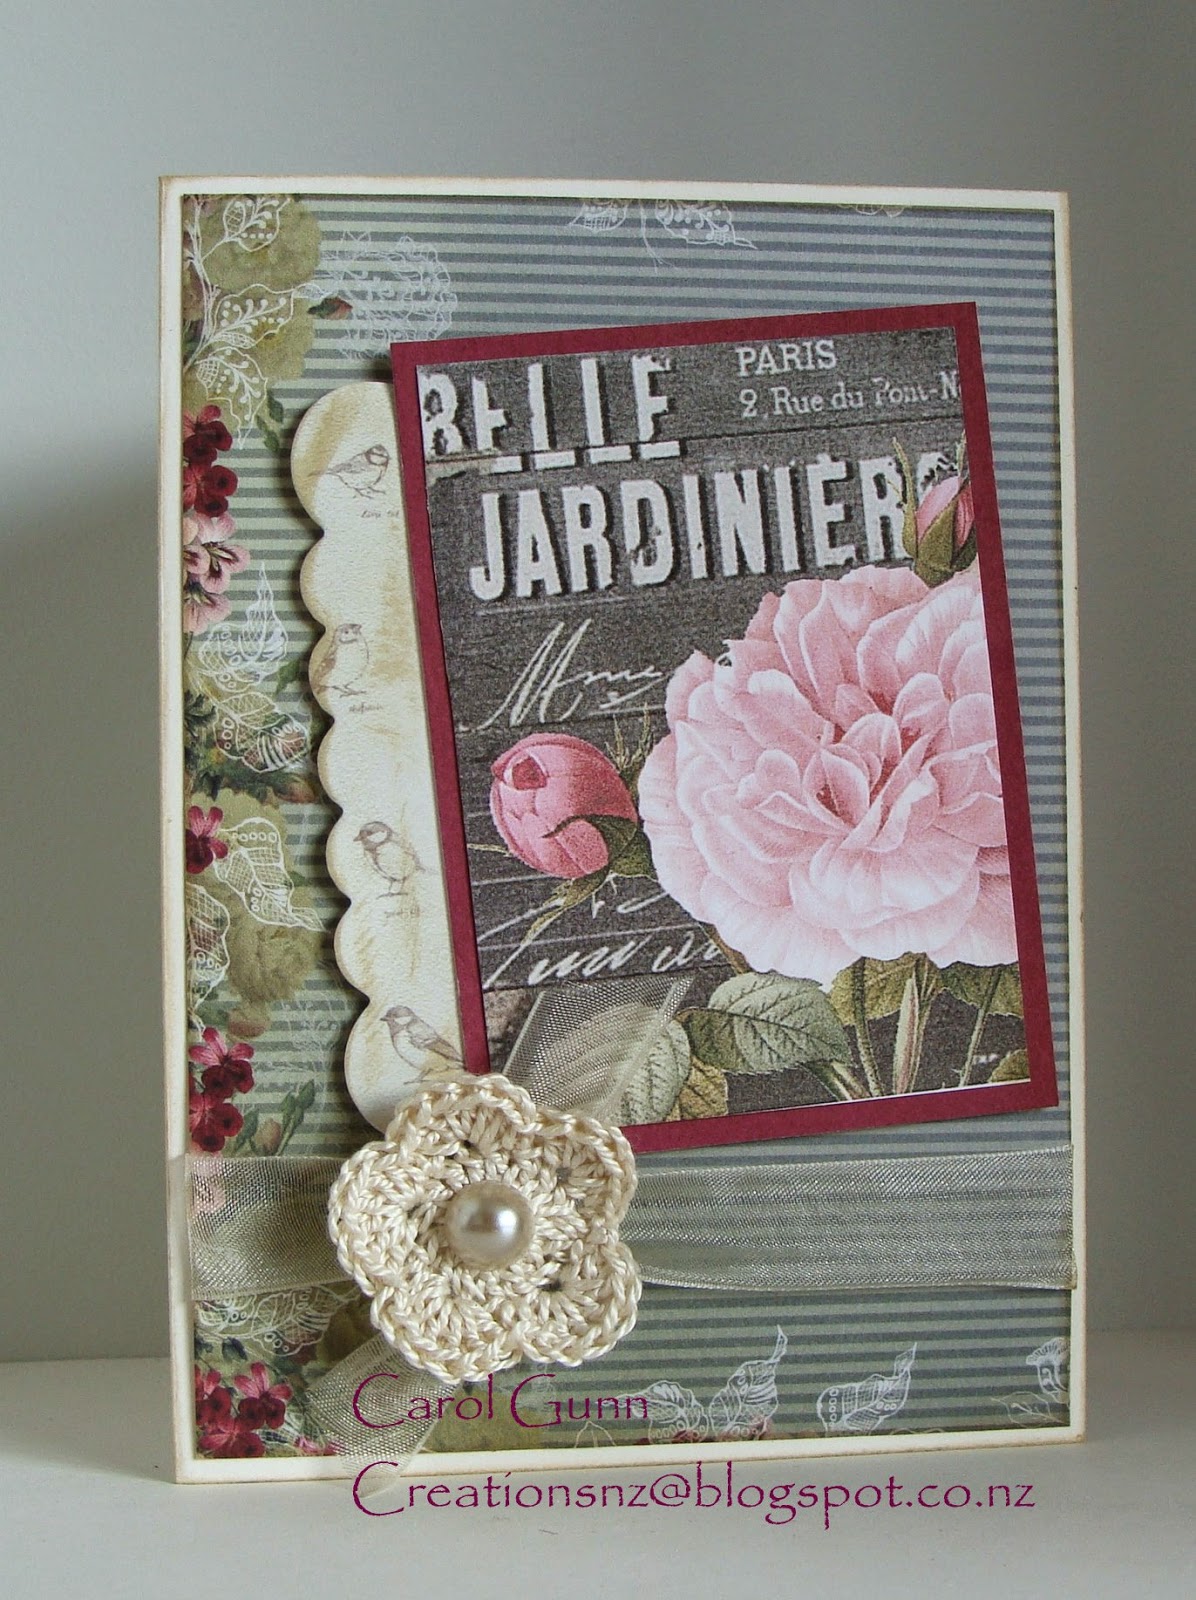


Subject matter varies a lot too.  Portraits of people to forms of transport can be found in sepia tones, but colour has a part to play as well.  I think we think of vintage as life being that colour in those days, but it wasn't - it was in full colour!


I wanted a flower to go on this card, but didn't want it to compete with the beautiful rose on the postcard, so crocheted a simple one myself, which I think added to the vintage-ness quite by accident.


I found the cups on some wrapping paper from a museum in UK and used it as the feature for this card. 

The brightish pink was quite a common colour in those days for ladies dresses.  A tiny doily behind the sentiment adds to the teatime theme without being too obvious.
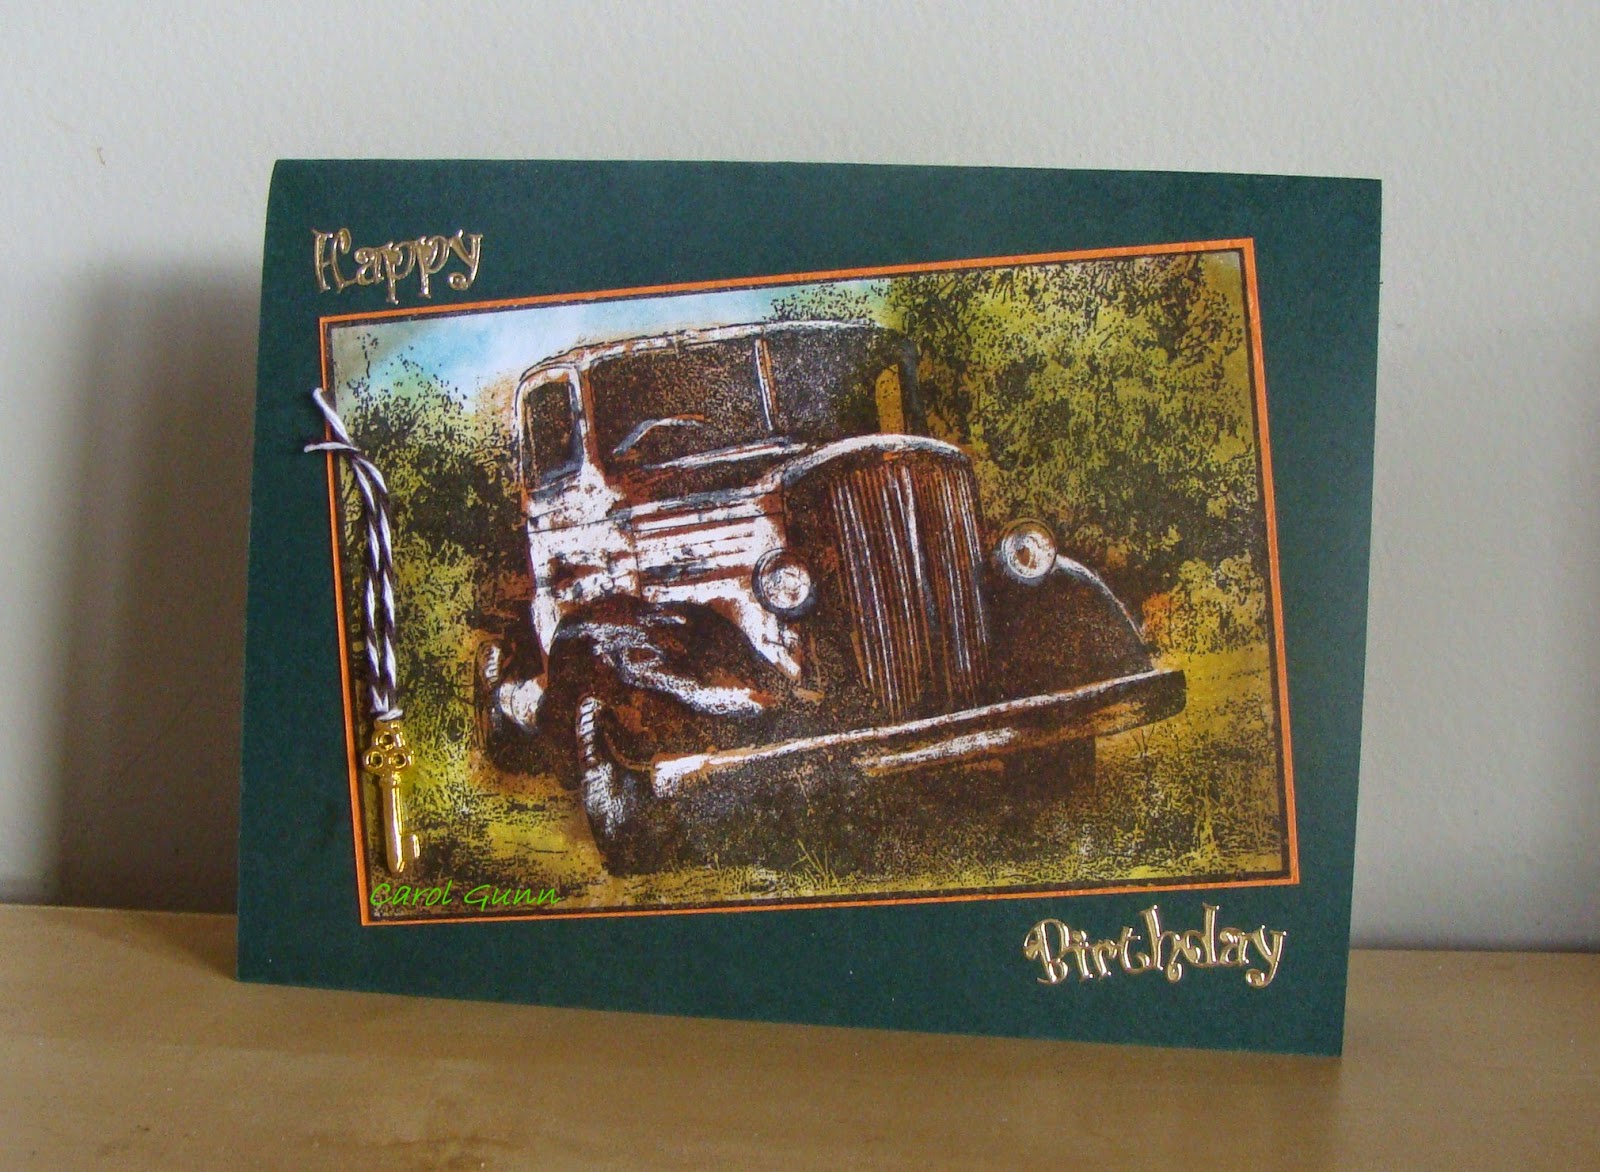


Old cars are a favourite for men's cards.  This old truck uses a wax crayon resist to highlight parts of the truck, and is then coloured with distress inks in a similar way to the old hand-coloured photos.


Some baker's twine and an old key add a little bit of touchability.


This image is stamped with sepia ink and the edges inked as well.  The embossed background is sanded for a rustic look and baker's twine tied around.  The photo corners were put on so it looked like it was in an old album.


There are many papers now that coordinate beautifully with vintage images.  I particularly love using script (either in papers or stamped), old ledgers, music (stamped or real old pages), and papers that look like old wall paper.  This one has the script, ledger and wall paper looking papers.


Finally what about the children? 


I love this stamp of  daddy and his little girl.  Lots of texture here with the black corrugated card, heavy hemp string, and the old looking label.
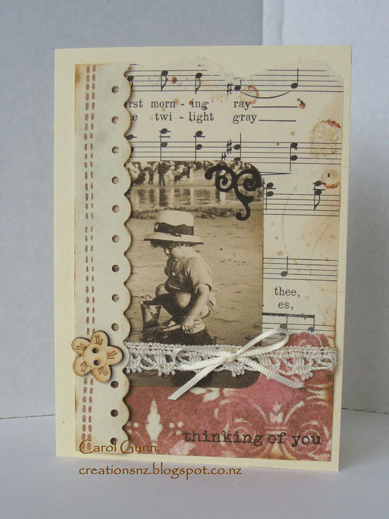


In this one I added blots and age marks to the old (real) music sheet, tore the edge a bit, and inked the edges.


Really, there are so many images around like clocks, watches, biplanes, sailing ships, typewriters, gears and cogs, pens, feathers, and old embroidery scissors, to mention a few.


I wonder how long it will be before computers join the list?  


Have a bit of fun trying out vintage themes.  And I'd love to know what you think of these.
26 March, 2015

What is so special about autumn?

Autumn is coming to the southern hemisphere.  We have had a wonderful long, hot summer but it is nice now to think of a little rain and some of the other lovely things that we only do when the weather is cooler.


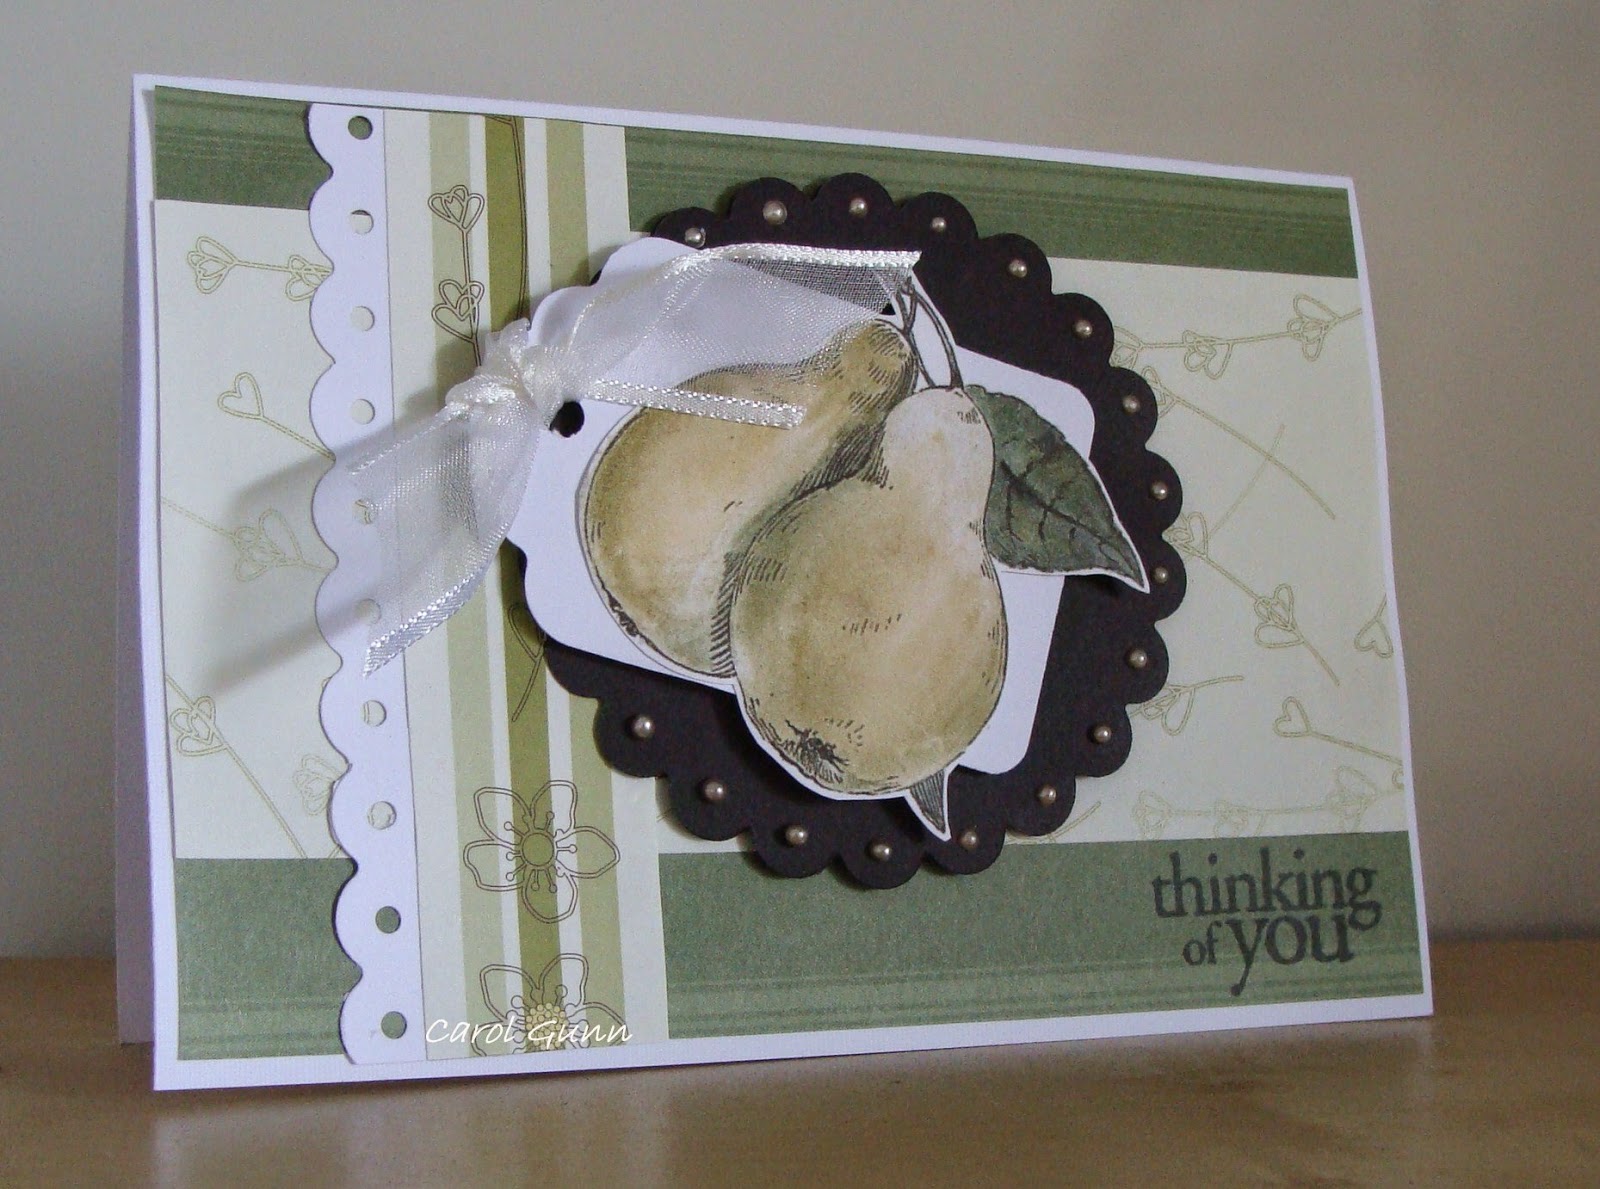
One of the things I love about autumn is the fruit.  Fresh pears are probably one of my favourite fruits along with raspberries and mandarins. 


While it is still pretty hot during the day, I notice the nights are getting cooler and the liquidamber trees are starting to get that purple tinge to their leaves, that deep aubergine colour that is like no other.


I don't know about you but I love nuts too, almost any kind but especially cashew, pistachio and macadamia nuts.  Nuts always remind me of autumn.
Their wonderful textures and different shapes are so inviting that you have to just grab a few and nibble, not to mention all the other dishes they go in ...


I accidentally discovered leaf skeletons as an adult and wished I'd discovered them as a child.  Somehow they seem magical, almost as if the leaf has gone somewhere else - a bit like when a cicada sheds it's skin - and leaves behind a reminder not to forget it.


This one is made using a real liquidambar leaf (I think they are also called sweet gums) used as a stencil.  I rubbed over distress inks then sprayed glimmer mist before stamping the sentiment in the soft subtle green.


And these are using real gingko leaves, versamark-inked and heat embossed with copper embossing powder.  They are a simple shape, but are stunning all the same.   When they are inked and stamped they remind me of ballerina skirts made from tulle.


Such a variety of leaf shapes too, that you don't tend to notice so much in summer.  Look at not just the leaf margins, but look at the wrinkles and crinkles and insect-eaten bits and think of all the life that is encapsulated in one dying leaf.  In the space of nine months it has developed from a tiny bud, grown and stretched and danced in the wind and provided food for the tree itself, and now grows smaller and it seems is trying to curl up into it's smallest shape again.
 
So look around for the shapes, colours, textures, smells and foods of autumn - they are what make it a special season, freely given for our pleasure.

28 February, 2015

slider card


Easy Slider Card
The finished card was shown to me by Trish at Hastings Rubber Stamps, Hastings, NZ. January 2014

Decide how big you want your card to be.  I made it to be the same size as a C6 when it was folded and assembled.
SliderCardno1W.gif

Outer Tube: Cut your card double the size you want to end up with, plus a bit to overlap.  Score & make into a tube, ensuring the overlap flap is hidden inside the tube.


Pull insert: this needs to be slightly smaller all round than the outer so that it fits inside and pulls easily.  Cut a sturdy layer of card, decorate if wanted.
 
SliderCardno3W.gif


Assembly:  put the insert into the tube and punch a hole through all layers at one end, in the centre of the end.  Take insert out and reverse it into the tube, lining up the holes.  Put a long piece of ribbon (about 3 x length of tube) through both tube and insert. Pulling  the ends up to the other end of the insert.
 
  
SliderCardno4W.gif


At this stage decide if you want to punch another hole or just tie the ribbon around the end of the insert.  (I glued it at the end so it stayed tied).  Then push the insert into the tube, in, out, in, out....

  Decorate however you want.  Decorate front of insert with sentiment or whatever you want, remembering it needs to be quite flat to slide properly. Leave a space on the back of insert for writing a greeting or message.


The insert is pulled in and out using the bow.
Have fun.

28 January, 2015

soft canvases

Most people would think of quilts as being cuddly bedcovers to snuggle up with.  Not so.  They come in all forms now from soft furnishings and clothes to art pieces.   Our local museum has commissioned and hung a large artwork made by one of our local guild members in their entry foyer .


I have dabbled  and tried out various things in different styles.  Here is a wee selection of my wallhangings.


This is my current favourite.  It uses raw edge applique, chenille, and beading.  The message says "She heard the whisper over and over again - breath in, breath out".  It won 2nd place at the Craft & Quilt Fair in Hamilton 2014 - "My Favourite..........place to relax".

What you can't see is the birds,  yachts and woodgrain quilted into the background ... and the glass of white wine in my hand!  The sea is made with shantung, feet with fossil fern and batik fabric.  The white surf is beading.


This is a wall hanging made in only two fabrics: a purple marbled batik and a peacock print.  Clusters of beading embellishment wander across the panels.
It hangs in three separate panels which are joined at the top.

I really like the asymmetric shape and the curves.


This is an abstract design quilt attached to a canvas frame, with piecing, chiffon inserts, yarn, ribbon and beading.  It was lots of fun to make.


The Angel of Virtue is a stitchery quilt done in blue floss thread - a
modern design in a traditional style. 


Stitchery is quite relaxing technique and is easily carried around.


This is another raw edge applique piece mounted on a canvas frame. For this one I tried out a printing technique using tissue paper on the computer to do the lining of the shoe (with words relating to shoes) and the message: "every time she put on her red high heels she felt like dancing".  It was also for the challenge "My favourite....ever shoes " at the Craft & Quilt Fair held in Hamilton 2015.  It is interesting that I had these shoes in the early '90's and my kids still remember them too!


I hope you look out for other ways quilting can be used, such as clothing, bags, home furnishings, and ornamental items such as bowls, vases and constructions, and probably many more I haven't discovered yet!


09 July, 2014

Kids cards

Because I have eight grandchildren, it seems there is a constant need for kids cards.  Some of these kids don't really care about cards, but some are very discerning and have high expectations of my creativity.
Eva is now 12 and has kept every card I have made for her and treasures them, but is not really crafty.  Grace is seven, and likes paper crafting and art activities.   Rhiannon is five and loves getting her hands on glue and glitter.  All my grandchildren (and children too) like getting interactive cards.


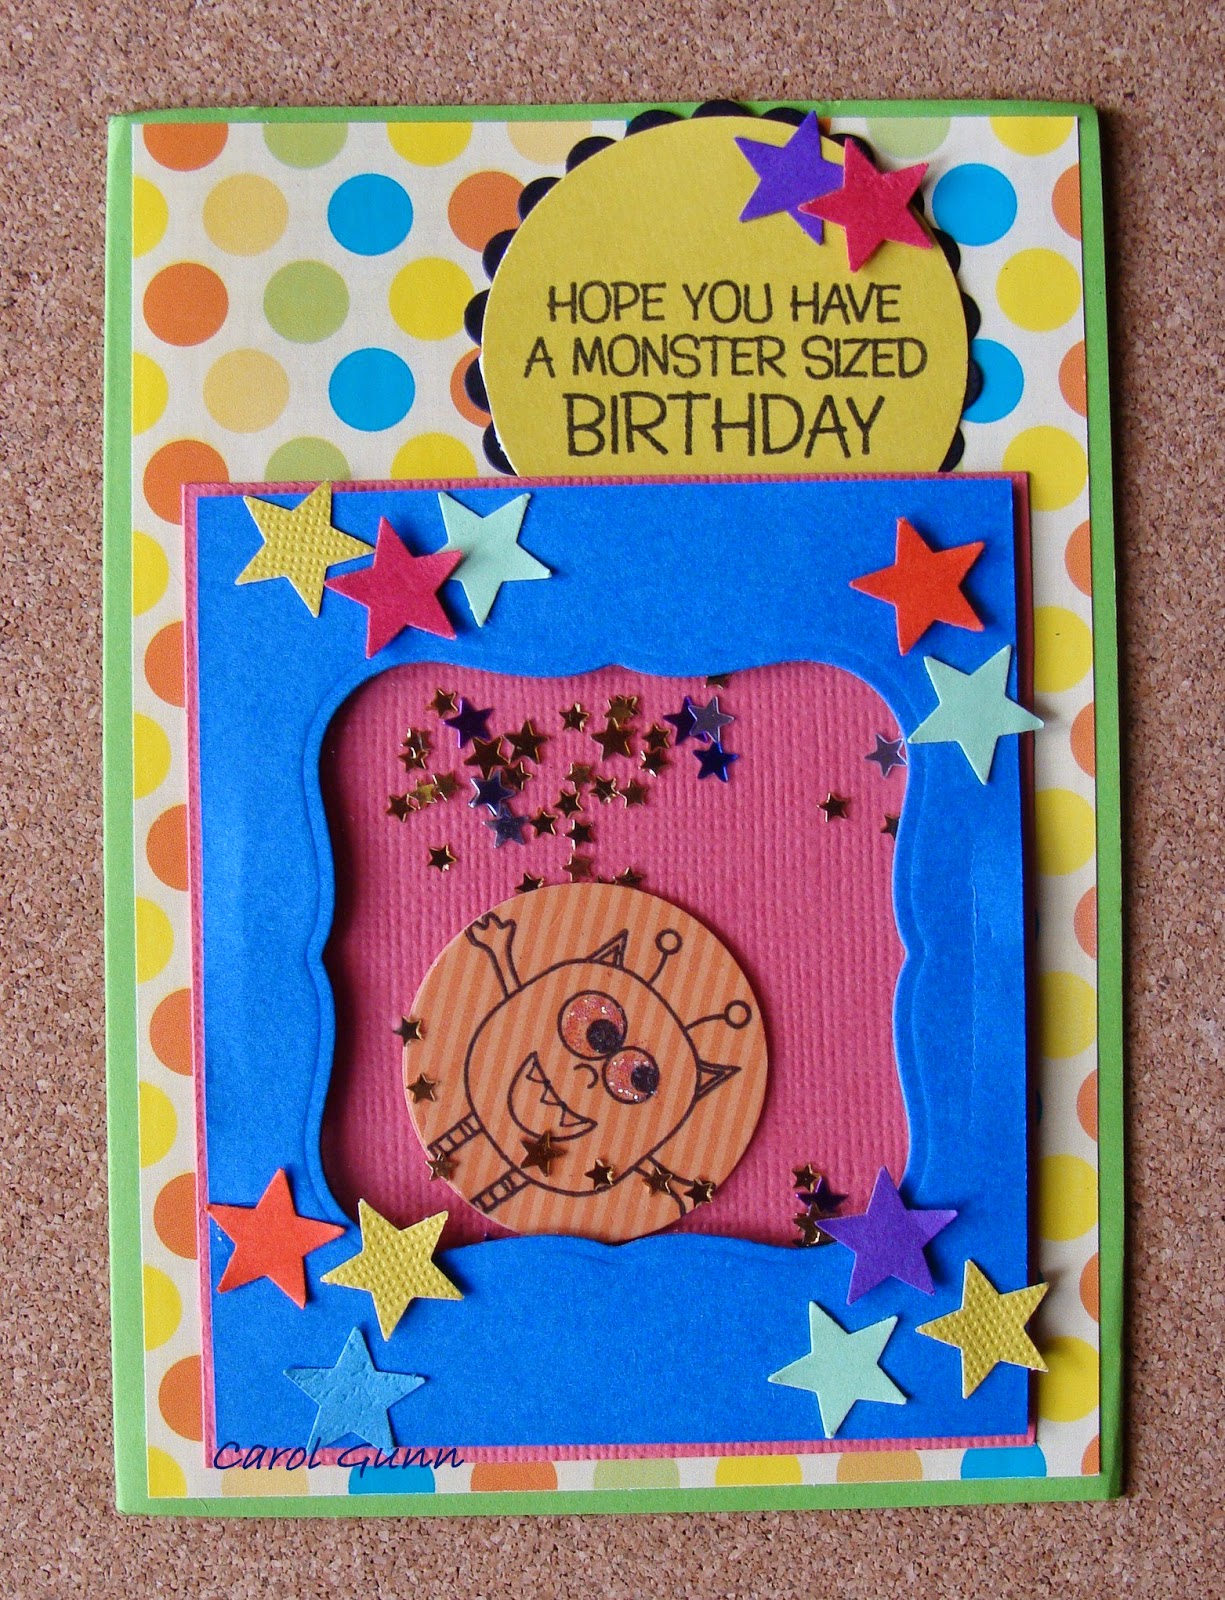
This is a shaker card, the stars and punched out monster shake around inside the window.


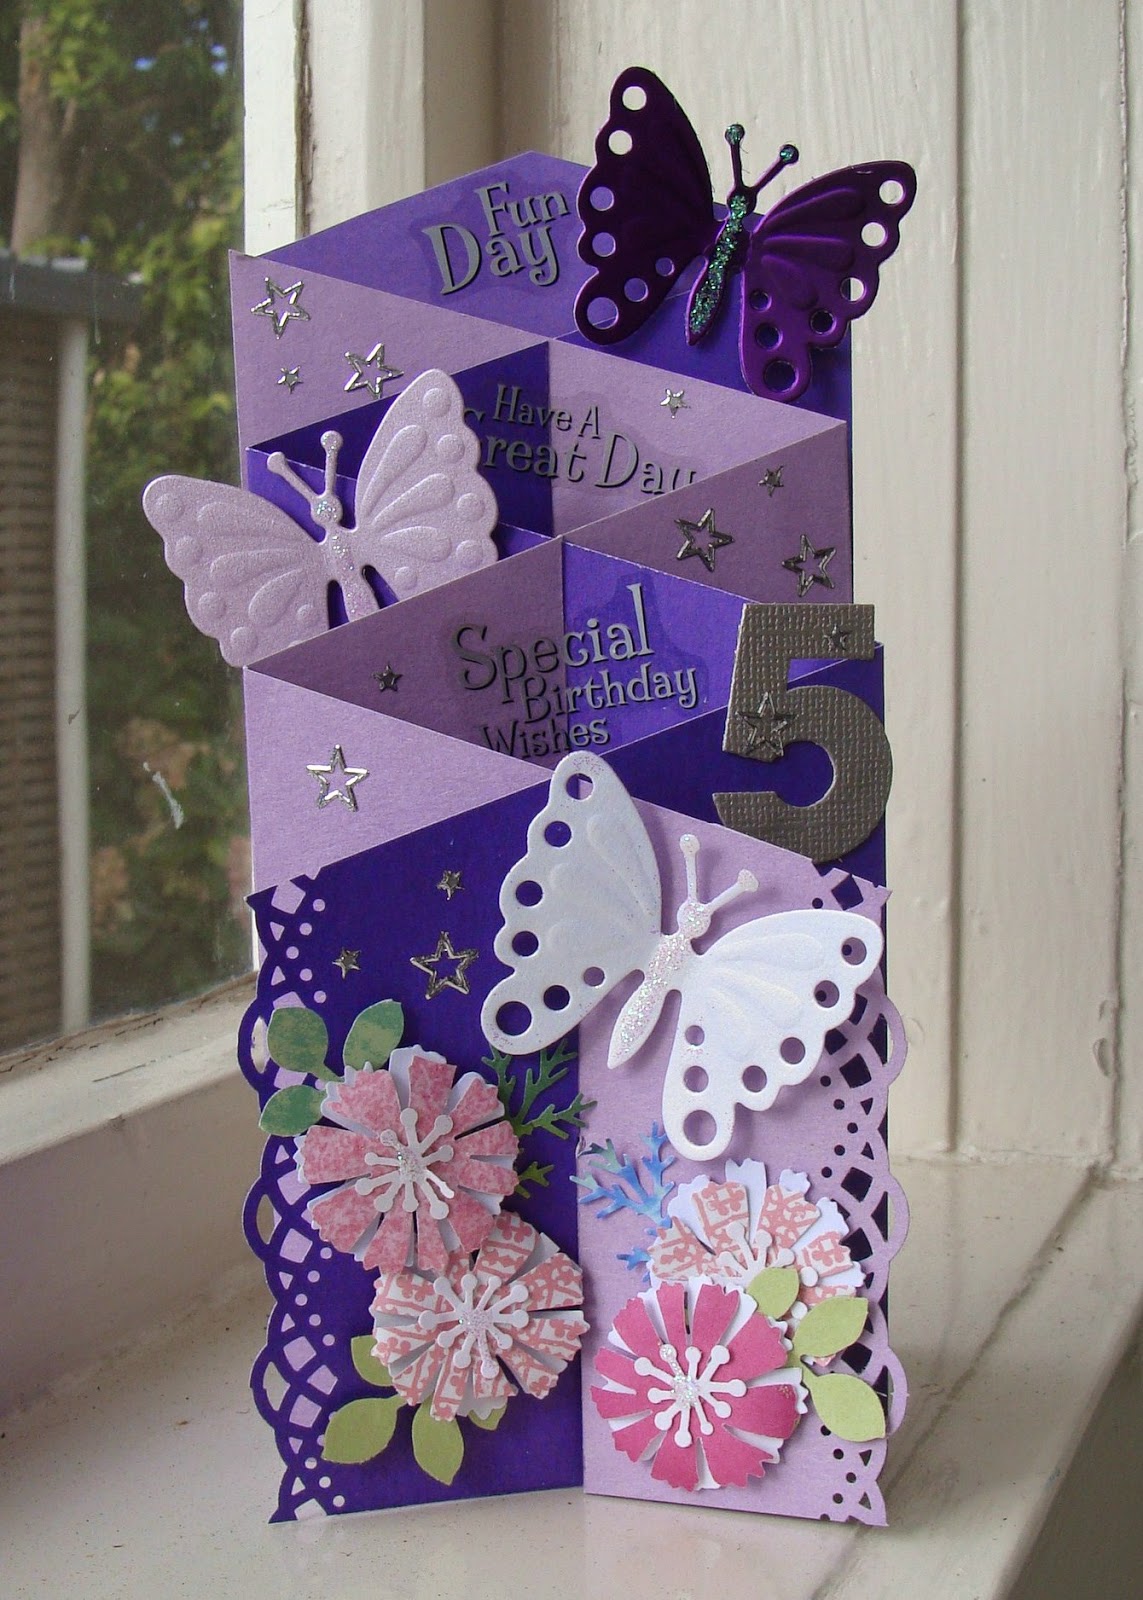
A double fold cascade is easy and gives lots of scope for decorating.  Grace's name is inside one of the folds for her to discover.  She is a butterfly addict.

I found kids love to have their name on their card.


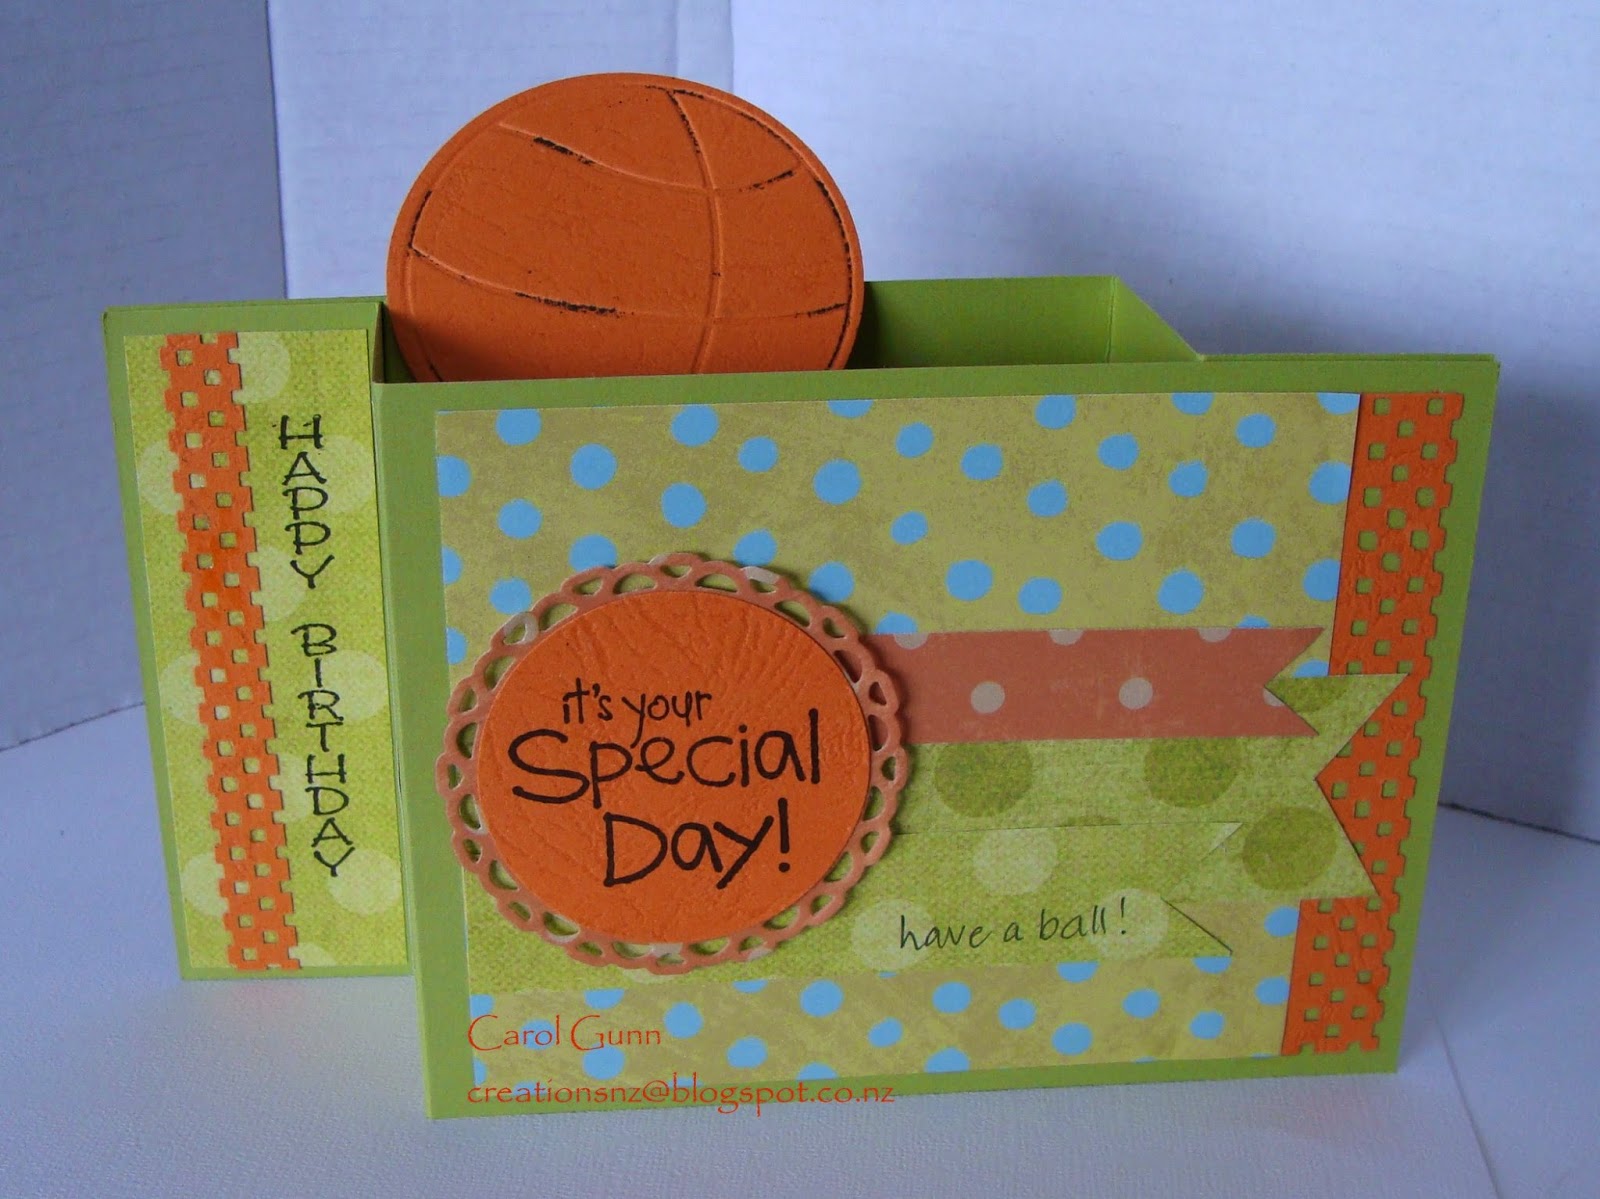
This one is a pull-fold with a pop-up ball.  We gave Eva a basketball for her last birthday which had been on her wish list for a while, so what better inspiration?  The sentiment says "It's your special day ... have a ball!"


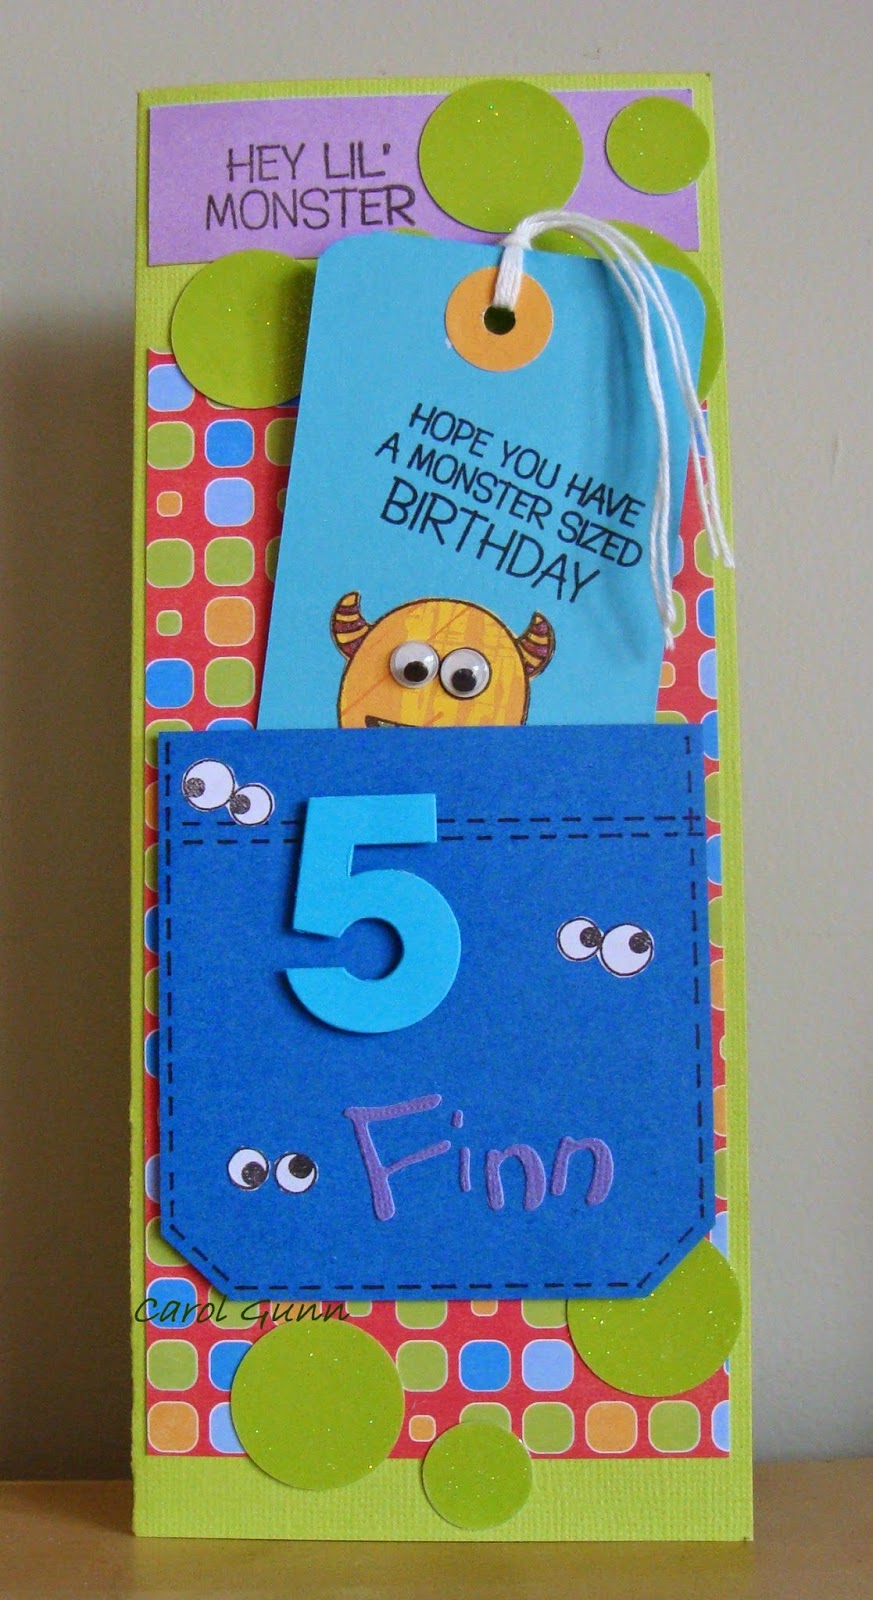
 For Finn, I did one with pockets, hiding tags and pull-outs with messages.  He hung the front tag onto his door handle after his birthday.  The insert inside I used a punch to 'eat' some of the page - like teethmarks of the monster.


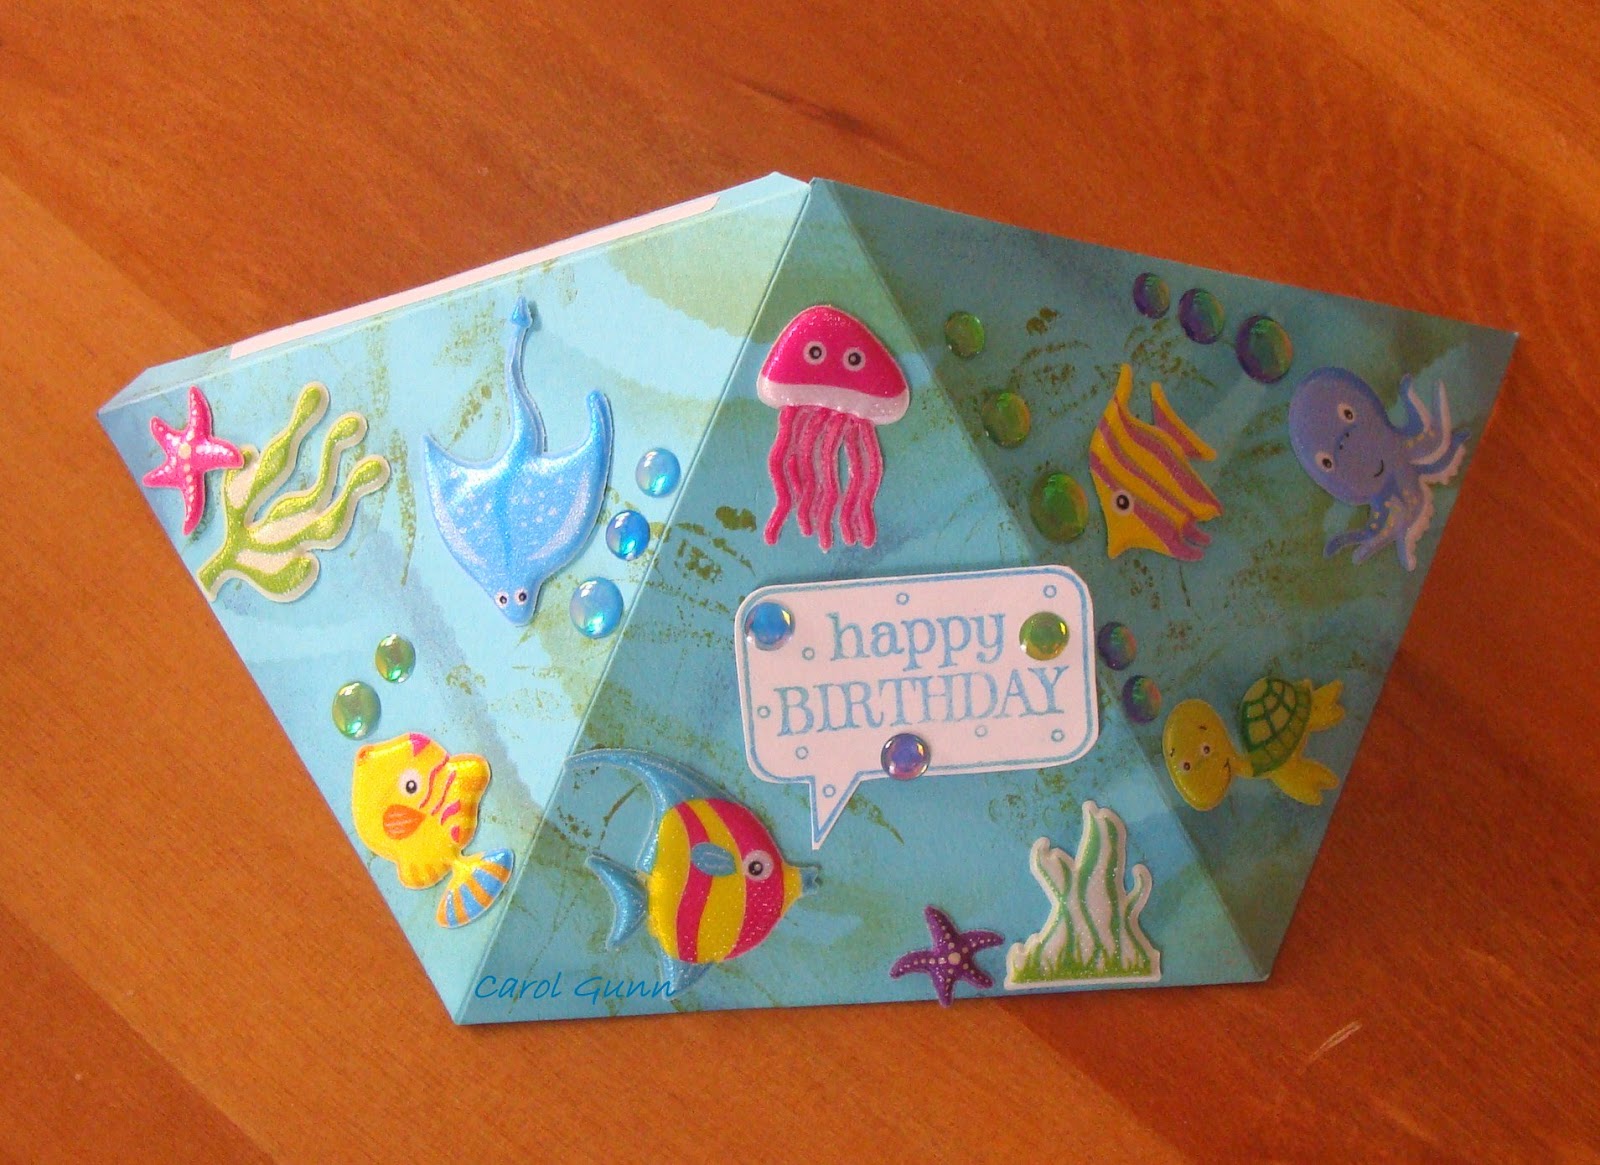
This one was a put-it-together-yourself aquarium shaped as a pyramid card for Jackson, except he didn't want to put it together and wanted it flat!  He says that way he can see all of it at once (no accounting for taste).  You can see the joining  tab at the side.  Well, I guess his card, his choice.  This can also have a string at the top to hang from and then it spins around.  The sentiment and messages are inside.  The stickers are like jelly.


These ones are called bendi-cards, and they are quite tricky.  This is the only one I have made (and quite probably the only one I will ever make), but the kids played with it for ages, telling stories around the theme.  The children inside the fence are making a garden, and down by the tree are other animals.


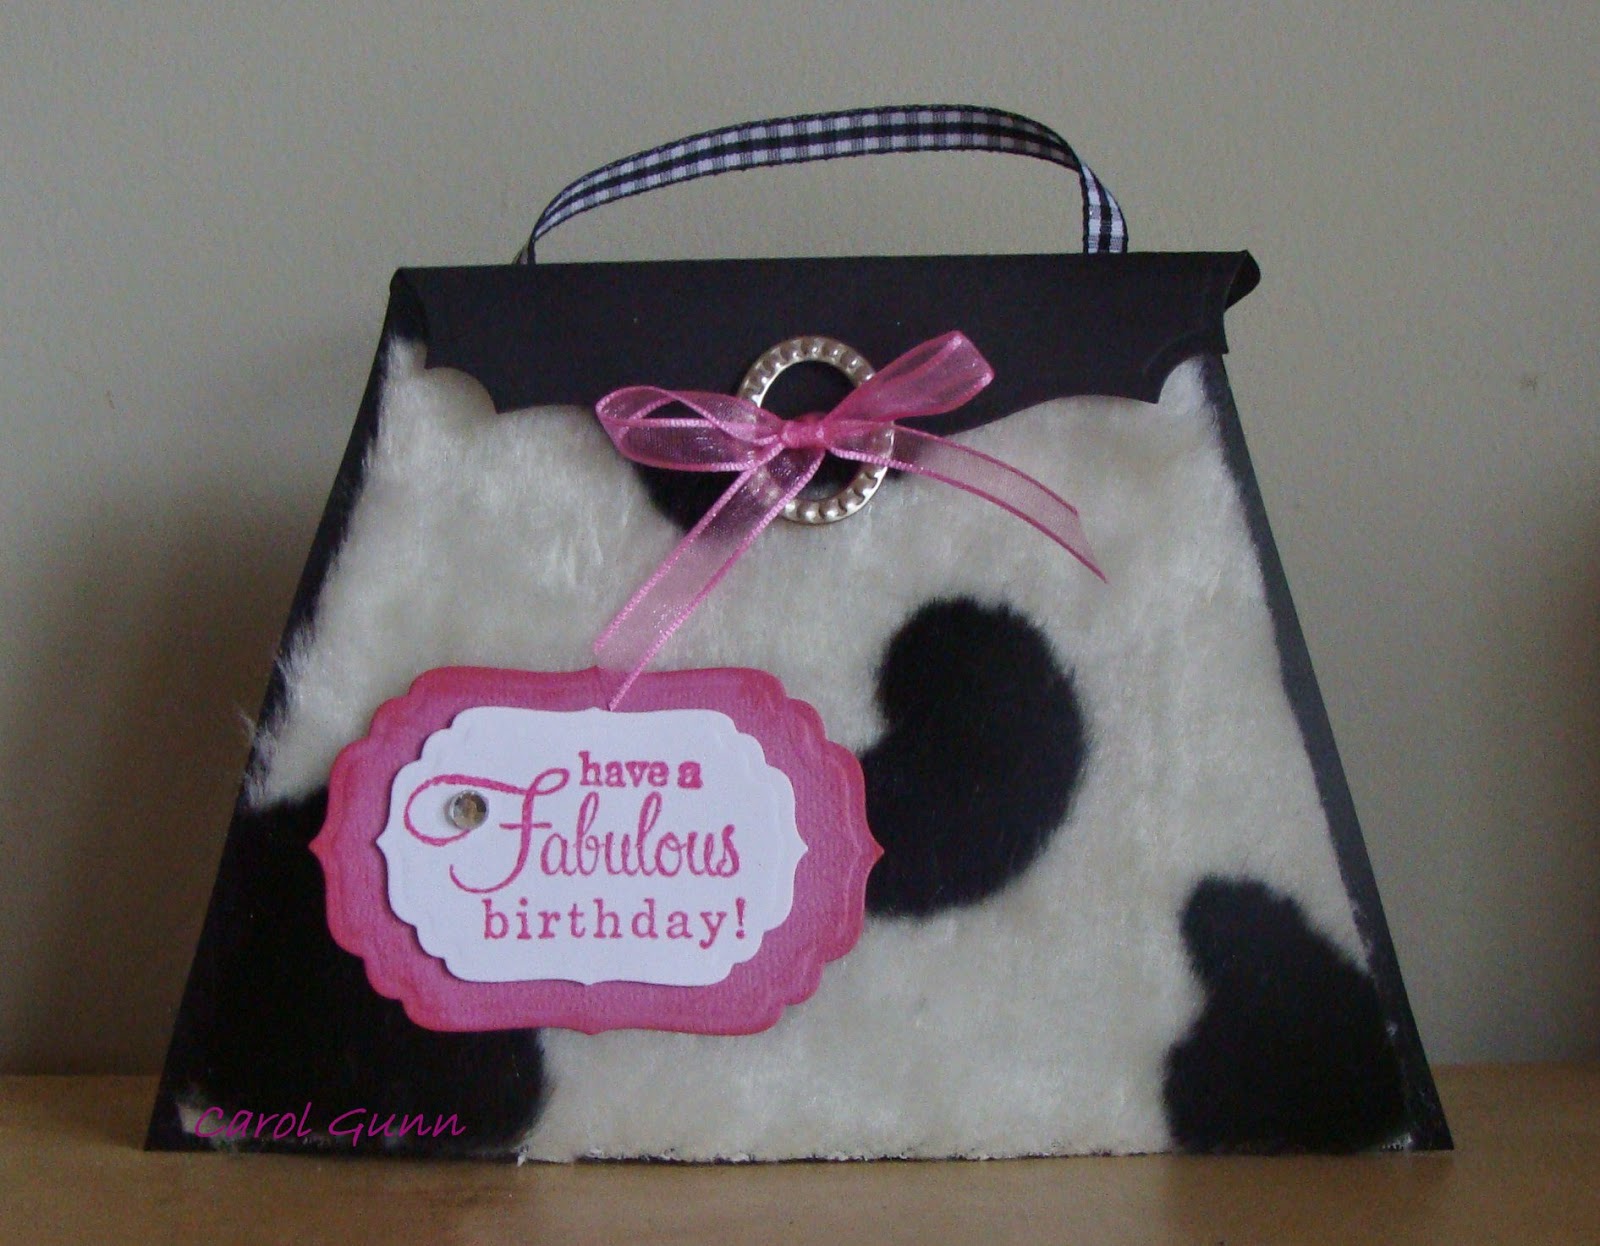
A handbag card with a gift card/voucher inside.  Very girly and what girl wouldn't want one?


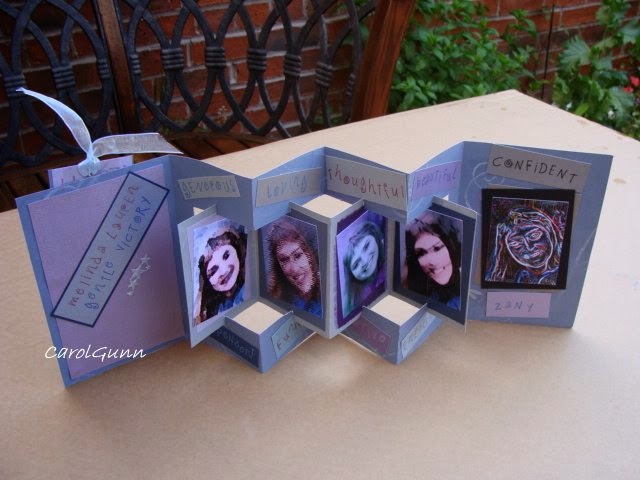
This was one for Lauren, our 32 year old daughter.  I took a photo and photoshopped the same photo in different ways with special effects. The I made labels on the computer with her special qualities and sprinkled them throughout the card.  Both sides have photos and qualities.  It also had a pull out tag in a front pocket.  She loved it.


A double diamond fold card for August, who is blind, so lots of folds, textured stickers, scratch n sniff etc.


It sure is a challenge to think about something new for each person and it is so great to have YouTube and Pintrest and all those tutorials available for our inspiration and education.  What did we do before all this technology?
Anyway, the important thing is - it's fun to make them and gives a lot of pleasure to the recipient.  Give it a go, why don't you?


23 May, 2014

Move over cards, come in quilts

Hi there.
Quilting is more than you might think it is.  It ranges from bed quilts, to art quilts, and accessories, and also from traditional to modern-contemporary.  Have a look and decide for yourself.

Over the past few months I have been concentrating on my quilting.  I have a lot of completed quilt tops known as UFO's in the quilting world - UnFinishedObjects.  Our local guild has a Biennial Exhibition in May so I decided to get some finished for that.
 I don't think I have a particular style, but it certainly is not hard-core traditional, and leans toward more contemporary style.  I love triangles in all their forms and am also learning more about stitching quilting designs.

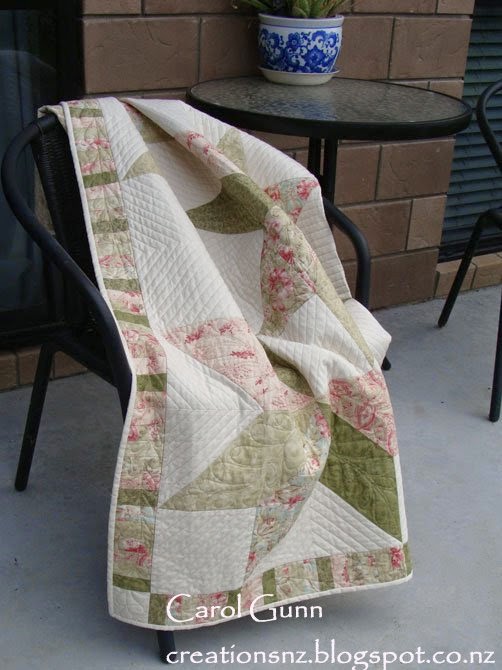
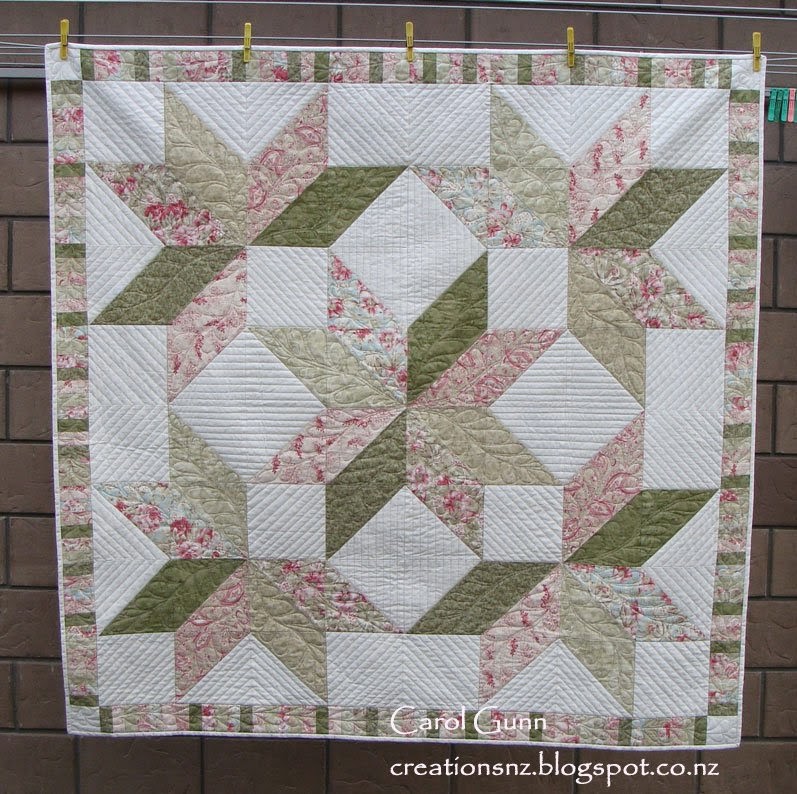
I made this quilt top while we lived in the UK (2007-2009) and this influenced my choice of fabrics.  I used muted colours because the light is different there, and it seemed right.  They are certainly not New Zealand colours.  However I really enjoyed working with these colours at the time.


For this one, I tried quilting designs  I had never used before like ruler-work and feathers.  I did a lot of un-sewing along the way, but am very pleased with the result.

Leaking Cauldron pattern.


This is called an art quilt.  It still has the basic structure of a quilt (3 layers of top, batting, backing) but is constructed with freedom from a pattern and uses various other techniques and materials as the supporting act.
This is called "A Walk in the Bush", and is inspired by NZ bush.  The underlying geology, water, flora etc is combined to create a whole feeling of NZ bush.

Entirely my own design.


I made the top of this quilt and started quilting it a long time ago (maybe 2003 or 4) but only just finished it for the exhibition.
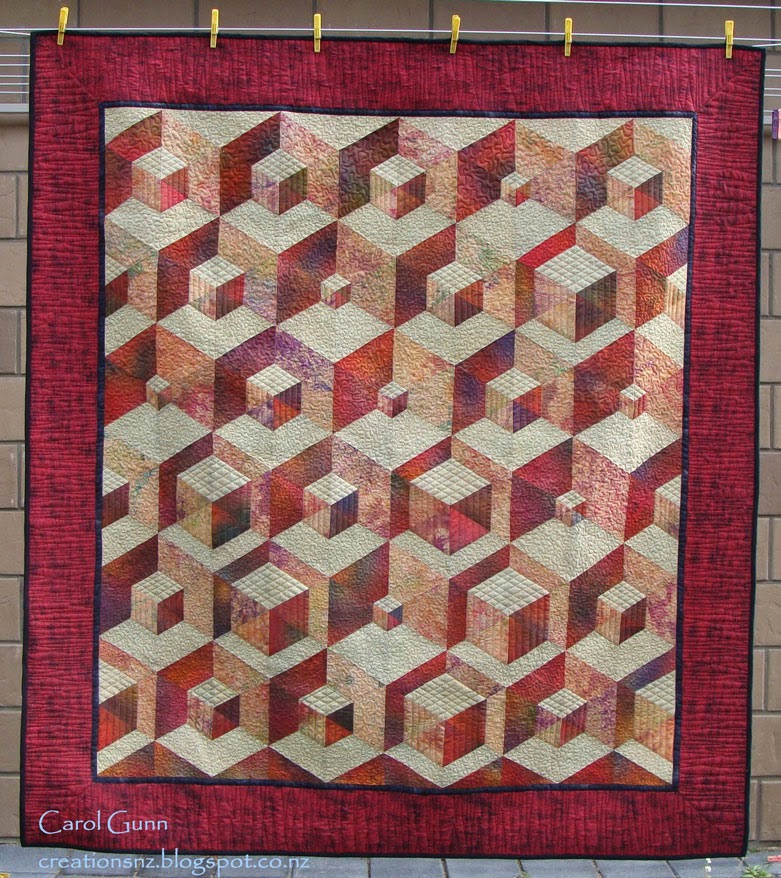
Originally I didn't even like it and put it away, I think mainly because they are not colours I personally like.  However I am glad I resurrected it.  The 3D image is really effective and I reckon it would look great in a building foyer where there is some space to see it properly.


Mary Jones pattern.


Sometimes we just like to do teensy projects after completing a big one, so I did some oven mitts for my daughter.

Martha Stewart design.


This is the second bed-quilt I ever completed.  I made it for my little granddaughter Rhiannon.  I like the off-centredness of this design which isn't too babyish and will still be ok when she is a teenager.
I guess the key thing for children's quilts is to make sure the backing is suitable for later in life, so it is able to be reversed when they grow up.

The techniques are piecing and applique.

I like this quilted handbag for dragging around my crochet projects, it sits upright and accommodates whatever shape is inside it. The wee triangles of colour are just there for "zing".  I love the bright lining too, it has inspiring messages on it and always makes me feel happy to look inside.

This is a pattern by a NZ company: Patches and Cream.


Another art quilt using batik fabric - Positively Purple.  This is kind of a free-cutting slice-and-dice technique it has patches of beading along some of the strips, which doesn't show well in the photo.


I hope this shows a little of the scope of quilting in the present.  Quilting is certainly not like it was even twenty years ago.
I like it when you leave me a comment, even if you don't like it.  Cheers, Carol.